Knee Pain on Hikes — How to Use Trekking Poles Properly
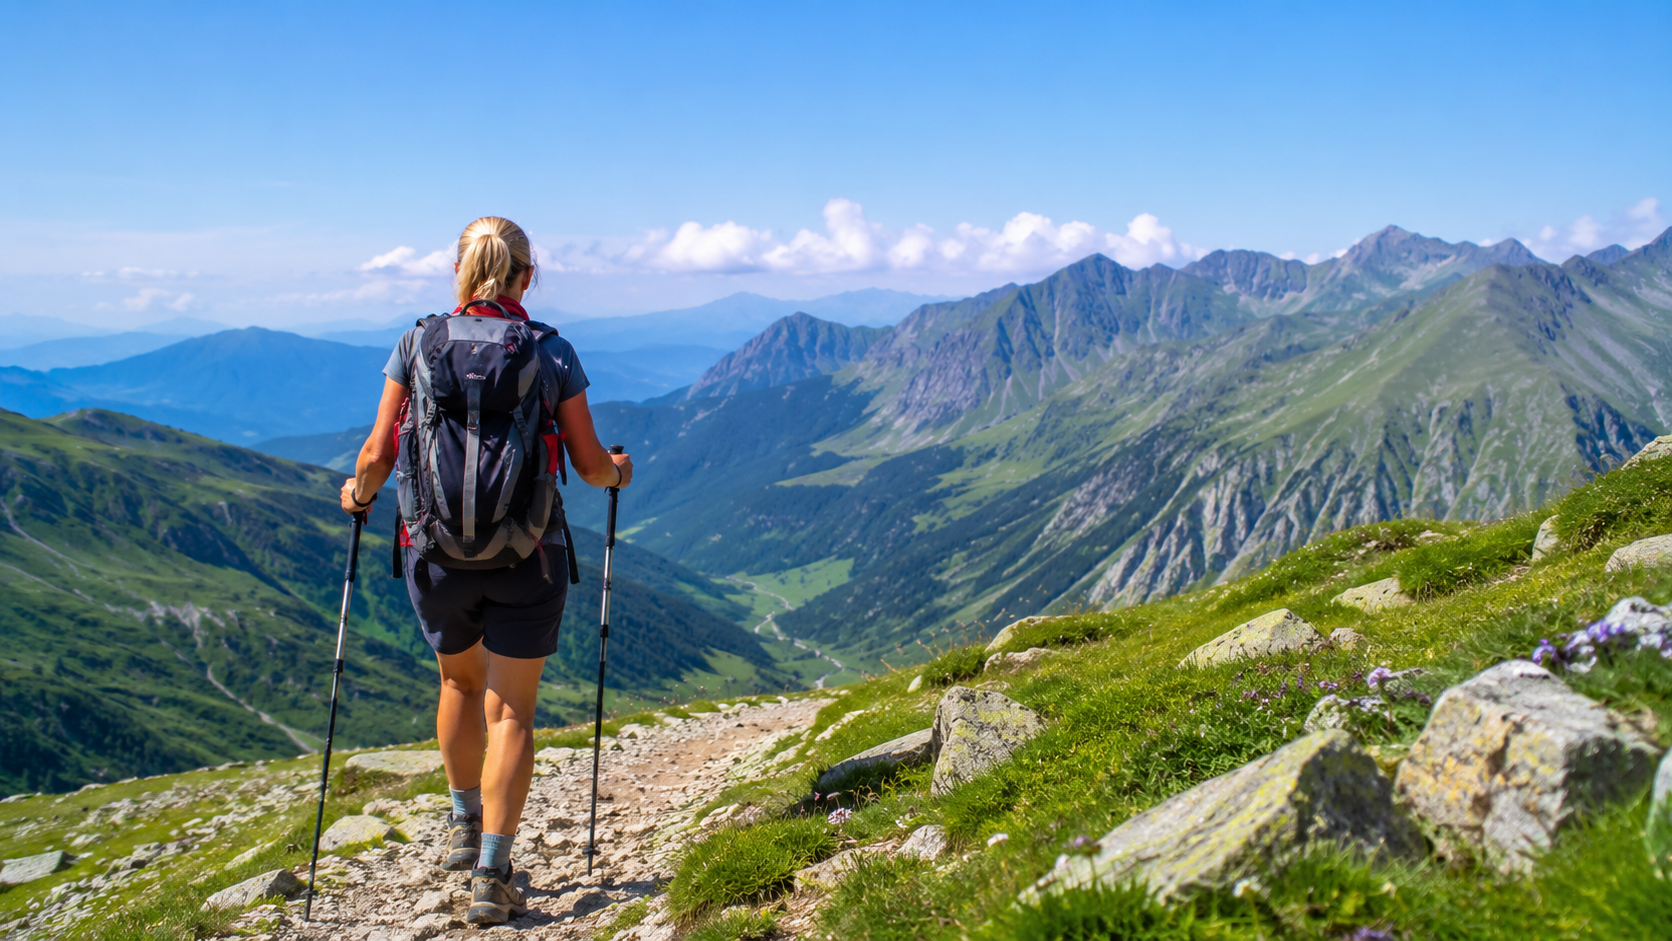
For many hikers, knee discomfort appears not on the climb but on the descent. Two properly used trekking poles, shorter steps and a few simple movement habits can reduce the load noticeably — but only if the poles are actually helping you brake and support your weight.
- Descents are the keyThat is where you do most of the braking work.
- Use two polesThey provide more balanced support and better load sharing.
- Plant them aheadThe pole should touch down before your next footstep.
- Take shorter stepsA shorter stride usually means less impact.
- Know when to stopPersistent or worsening knee pain needs more than a change in technique.
Why do knees often hurt more on descents?
Uphill you drive; downhill you brake
The source material treats this as the key distinction.On the way up, your muscles shorten as they lift your body. It is hard work, but it is mechanically different from descending, where each step has to be controlled and slowed. On the way down, the muscles work while lengthening, while the joints also absorb part of the repeated impact.
That helps explain a familiar pattern: the climb feels fine, yet knee discomfort starts to build during the second half of the descent.
What can trekking poles change?
The supplied source describes a meaningful reduction in knee loading.The source states that a correctly used pair of trekking poles can reduce knee loading on descents by roughly a quarter. This figure is retained from the material you supplied; it has not been independently medically fact-checked as part of this conversion.
Set your trekking poles properly
Start with a neutral length, then adjust for the slope
Level ground, climbs and descents do not require exactly the same setting.- Check your elbow angleOn level ground, with the pole tip beside your foot, your elbow should be roughly at a right angle.
- Shorter uphillFor a sustained climb, the source suggests shortening the poles by around 5–10 cm.
- Longer downhillBefore a descent, lengthening them by a similar amount can help the tips reach the ground earlier.
- Use the straps correctlyPut your hand up through the loop from below, then grip the handle so the strap can take part of the load.
- Match the basket to the groundLarger baskets are useful in snow or soft mud; on hard trails they can catch unnecessarily.
The technique that actually matters
Push uphill, brake downhill
The same pole movement does not work equally well on every slope.Use the poles to drive
Place the tips beside or just ahead of your feet and actively push backwards to help move your body uphill. On very steep ground, the source suggests holding the top of the grip to create a temporarily shorter support point.
Use the poles to brake
Plant the poles clearly ahead of the next step and load them before your foot lands. That allows your arms to absorb part of the impact instead of leaving all the braking to your legs.
Do not just carry them
The poles need to work before your next step.If the pole tip only taps beside or behind your body, it may help with balance but does very little to unload the knees. For real support, the pole needs to land ahead of the next step.
Five mistakes that make descents harder on your knees
Most mistakes either increase impact or reduce control
They also limit how much help the poles and your muscles can provide.The way you plan the hike matters as well
Less descent, a lighter pack and better control
The source material suggests several simple ways to reduce loading.- Choose routes with less ascent and descent. If downhill walking is the main trigger, reduce long descents where possible.
- Use a lift for the descent. If a cable car or funicular exists, the downhill section may be the one worth skipping.
- Strengthen your thighs. The source mentions squats, stair climbing and cycling as examples.
- Warm up and move gently at first. Keep the first kilometre easy, then finish with a few minutes of light mobility.
- Check your footwear. A worn or hardened sole reduces grip and can make controlled descending harder.
For more on footwear care, see the Túraprogramok boot-care guide.
When should you stop thinking about technique and seek professional advice?
The source material highlights four warning signs
This is general information, not a diagnosis.This article is about trekking-pole technique and hiking mechanics, not medical diagnosis or treatment. Persistent, recurrent, worsening or suddenly severe knee pain should be assessed by a doctor or physiotherapist.
Technique and pace work together
No single piece of equipment solves everything
Poles work best when stride length, pace and overall load are adjusted as well.The central message of the source material is that trekking poles are only part of the solution. Two poles, shorter steps, a more controlled pace, a lighter pack and sensible route choice can work together to make descents noticeably easier to manage.
If your knees are sensitive, choose the route accordingly
Low-ascent routes make load easier to manage
The supplied source highlights three routes with very little climbing.Frequently asked questions about trekking poles and knee loading
The key answers in brief
These answers are based on the source material you supplied.Is one trekking pole or a pair better?
The source recommends using two poles because they provide more balanced support and better load distribution.
How long should my trekking poles be?
On level ground, aim for roughly a right angle at the elbow. Shorter settings can suit climbs, while slightly longer poles can help on descents.
Where should I plant the poles on a descent?
Ahead of the next step, so you can load the poles before your foot lands and use them to help brake.
Do shorter steps help?
According to the source material, yes. A shorter stride reduces the size of each impact and can improve control on descents.
Will trekking poles solve every type of knee pain?
No. Poles may reduce load, but they do not treat an injury or medical condition. Persistent or worsening pain needs professional assessment.
What kind of route is better for sensitive knees?
Routes with less sustained descent and smaller overall height differences are usually easier to manage. The source material also suggests three low-ascent options.
Trekking poles only help when they actually take some of the load.
On descents, plant them ahead of the next step, load them early, shorten your stride and avoid speeding up when fatigue sets in.
Technique, pace and route choice all matter.
Two well-used poles, shorter steps, a lighter pack and less sustained descending can achieve more together than any one of them on its own.