Sprained Your Ankle While Hiking? First Aid, Field Care, Recovery and What to Carry
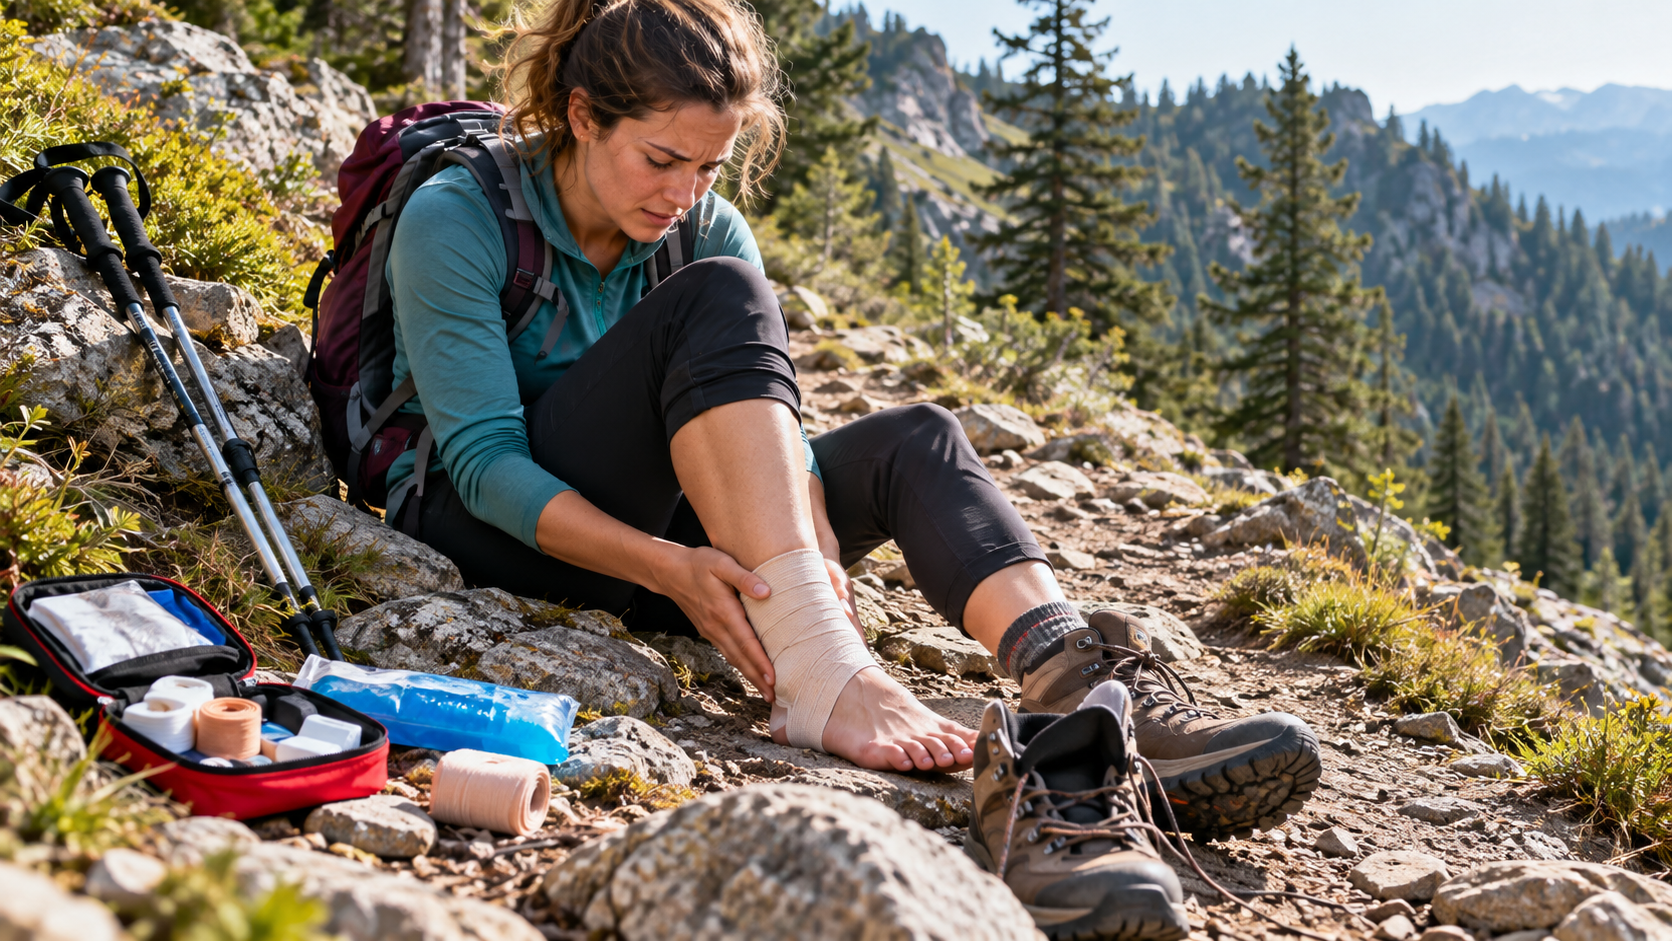
One bad landing, a loose rock, a wet root or a hiking shoe slipping on a descent, and in a second you can roll your ankle. What people casually call “my ankle went out” usually means an ankle sprain: the ligaments that stabilise the ankle may be stretched, partially torn or, in more serious cases, severely damaged. A true ankle dislocation, however, means the joint surfaces have moved out of their normal position, which is a much more serious injury requiring urgent medical attention. Out on the trail, it is also not always possible to safely distinguish a simple sprain from a major ligament injury or fracture. The most important thing is therefore not to make an exact diagnosis immediately, but to stop, assess the injury, avoid unsafe loading, recognise warning signs of a serious injury, and make the right decision about walking out or calling for help.
Do not immediately try to “walk it off”. Sit down, check the ankle, and only then decide what to do next.
A fracture, major ligament injury or true dislocation may produce similar symptoms.
If you cannot stand on the foot at all, or cannot take even a few steps, medical assessment is warranted.
A simple elastic bandage is one of the most useful items in a hiking first aid kit.
- Stop immediately Do not spend the first few minutes trying to “walk off” the injury.
- Check for serious injury Deformity, an open wound, loss of sensation, or a cold or discoloured foot means you should seek help.
- Do not try to put it back in place Do not attempt to manipulate a visibly dislocated or fractured ankle yourself.
- Support and compress it An elastic bandage or ankle brace may help, but it must not be tight enough to impair circulation.
- If you cannot bear weight, do not force it If you cannot walk safely, do not try to limp for kilometres.
A rolled ankle is usually a sprain, but on the trail you should not automatically assume that is all it is
Sprain, ligament injury, fracture and dislocation: they are not the same thing
Symptoms can overlap, so the first goal in the field is to assess how serious the injury may be.When the ankle rolls, the ligaments on the outside of the ankle are most commonly injured. In a mild injury the ligaments may be overstretched, while more severe injuries can involve partial or complete tearing.
Pain, swelling, bruising and difficulty walking do not by themselves reveal exactly what has happened. A fracture can initially look like nothing more than a “bad ankle sprain”.
The everyday phrase “my ankle went out” is not the same thing as a true ankle dislocation. If the ankle is sitting at an abnormal angle, is visibly deformed, or bone is exposed, do not try to push, pull or “snap” it back into place.
Stop, sit down, and examine the ankle before trying to stand on it again
During the first few minutes, continuing the hike is not the priority
Pain decreasing after a short rest does not prove that the injury is minor.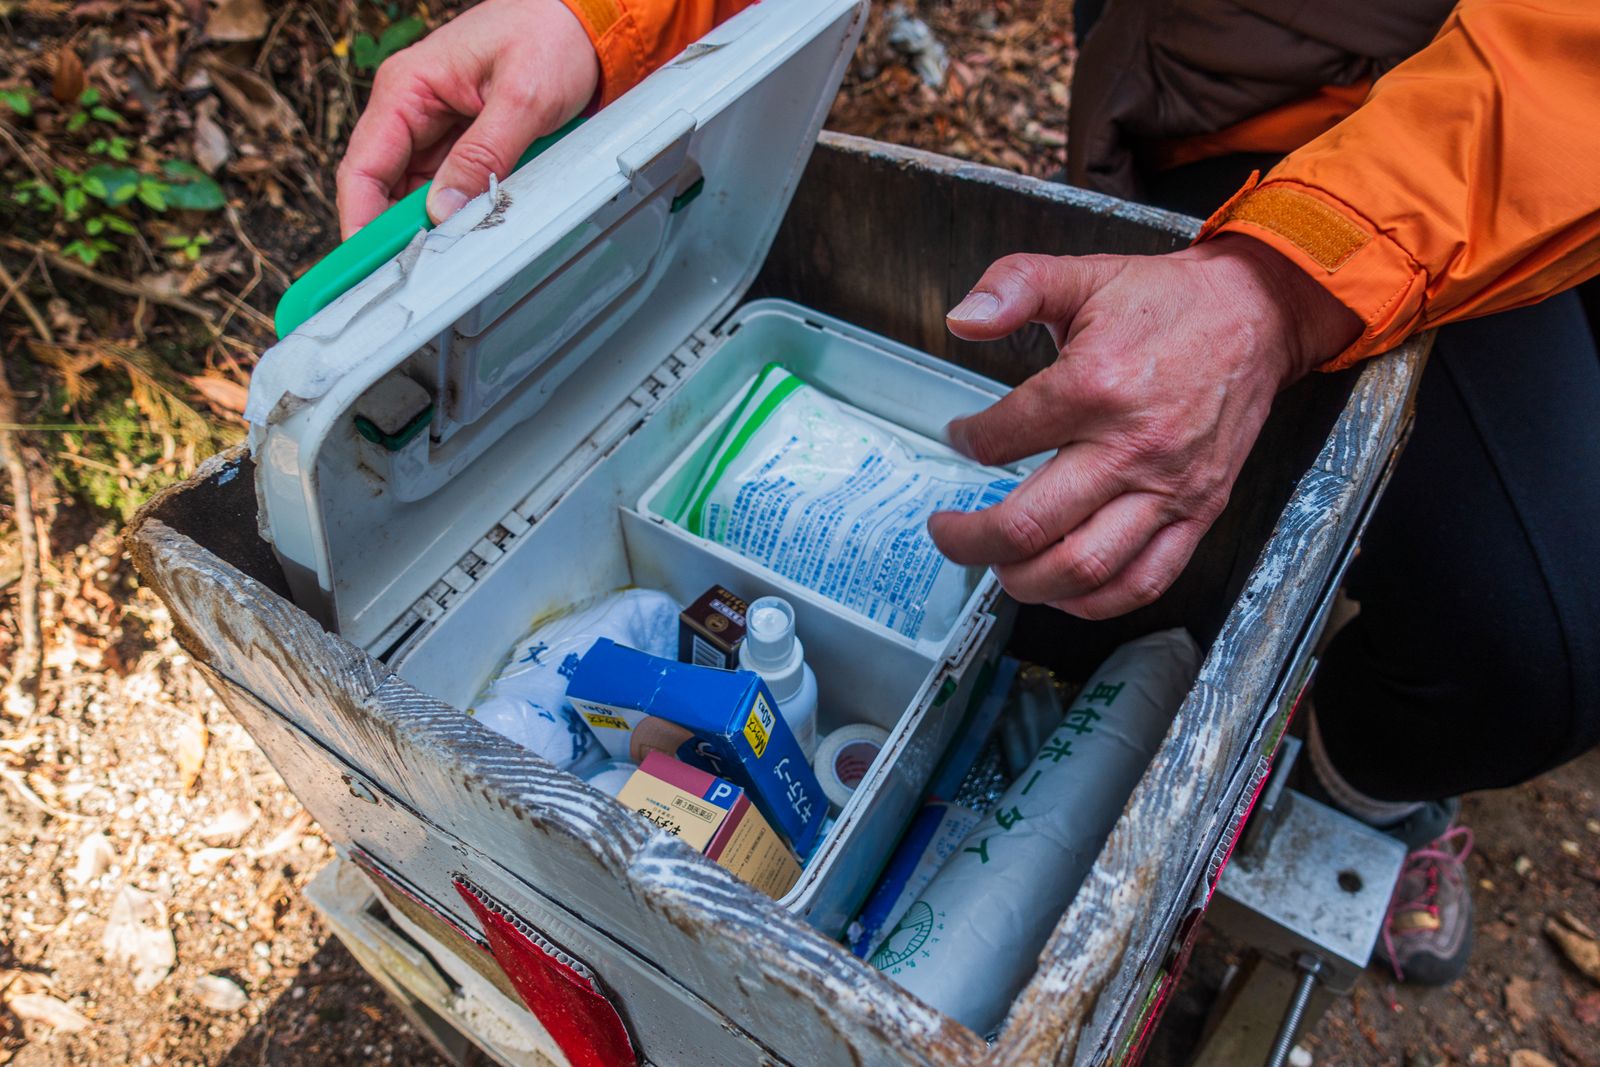
Not necessarily. If there is no deformity, the boot is not constricting and circulation, sensation and movement in the foot remain normal, a supportive hiking boot may temporarily provide some stability. If the ankle starts swelling rapidly and the boot becomes tight, loosen it. Forcefully pulling off footwear from a severely injured, deformed ankle is not a good idea.
Deformity, circulation problems, open injuries or inability to bear weight should not be treated as a simple ankle sprain
Some ankle injuries should not be walked on
In remote terrain, making the correct decision can sometimes matter more than the bandage itself.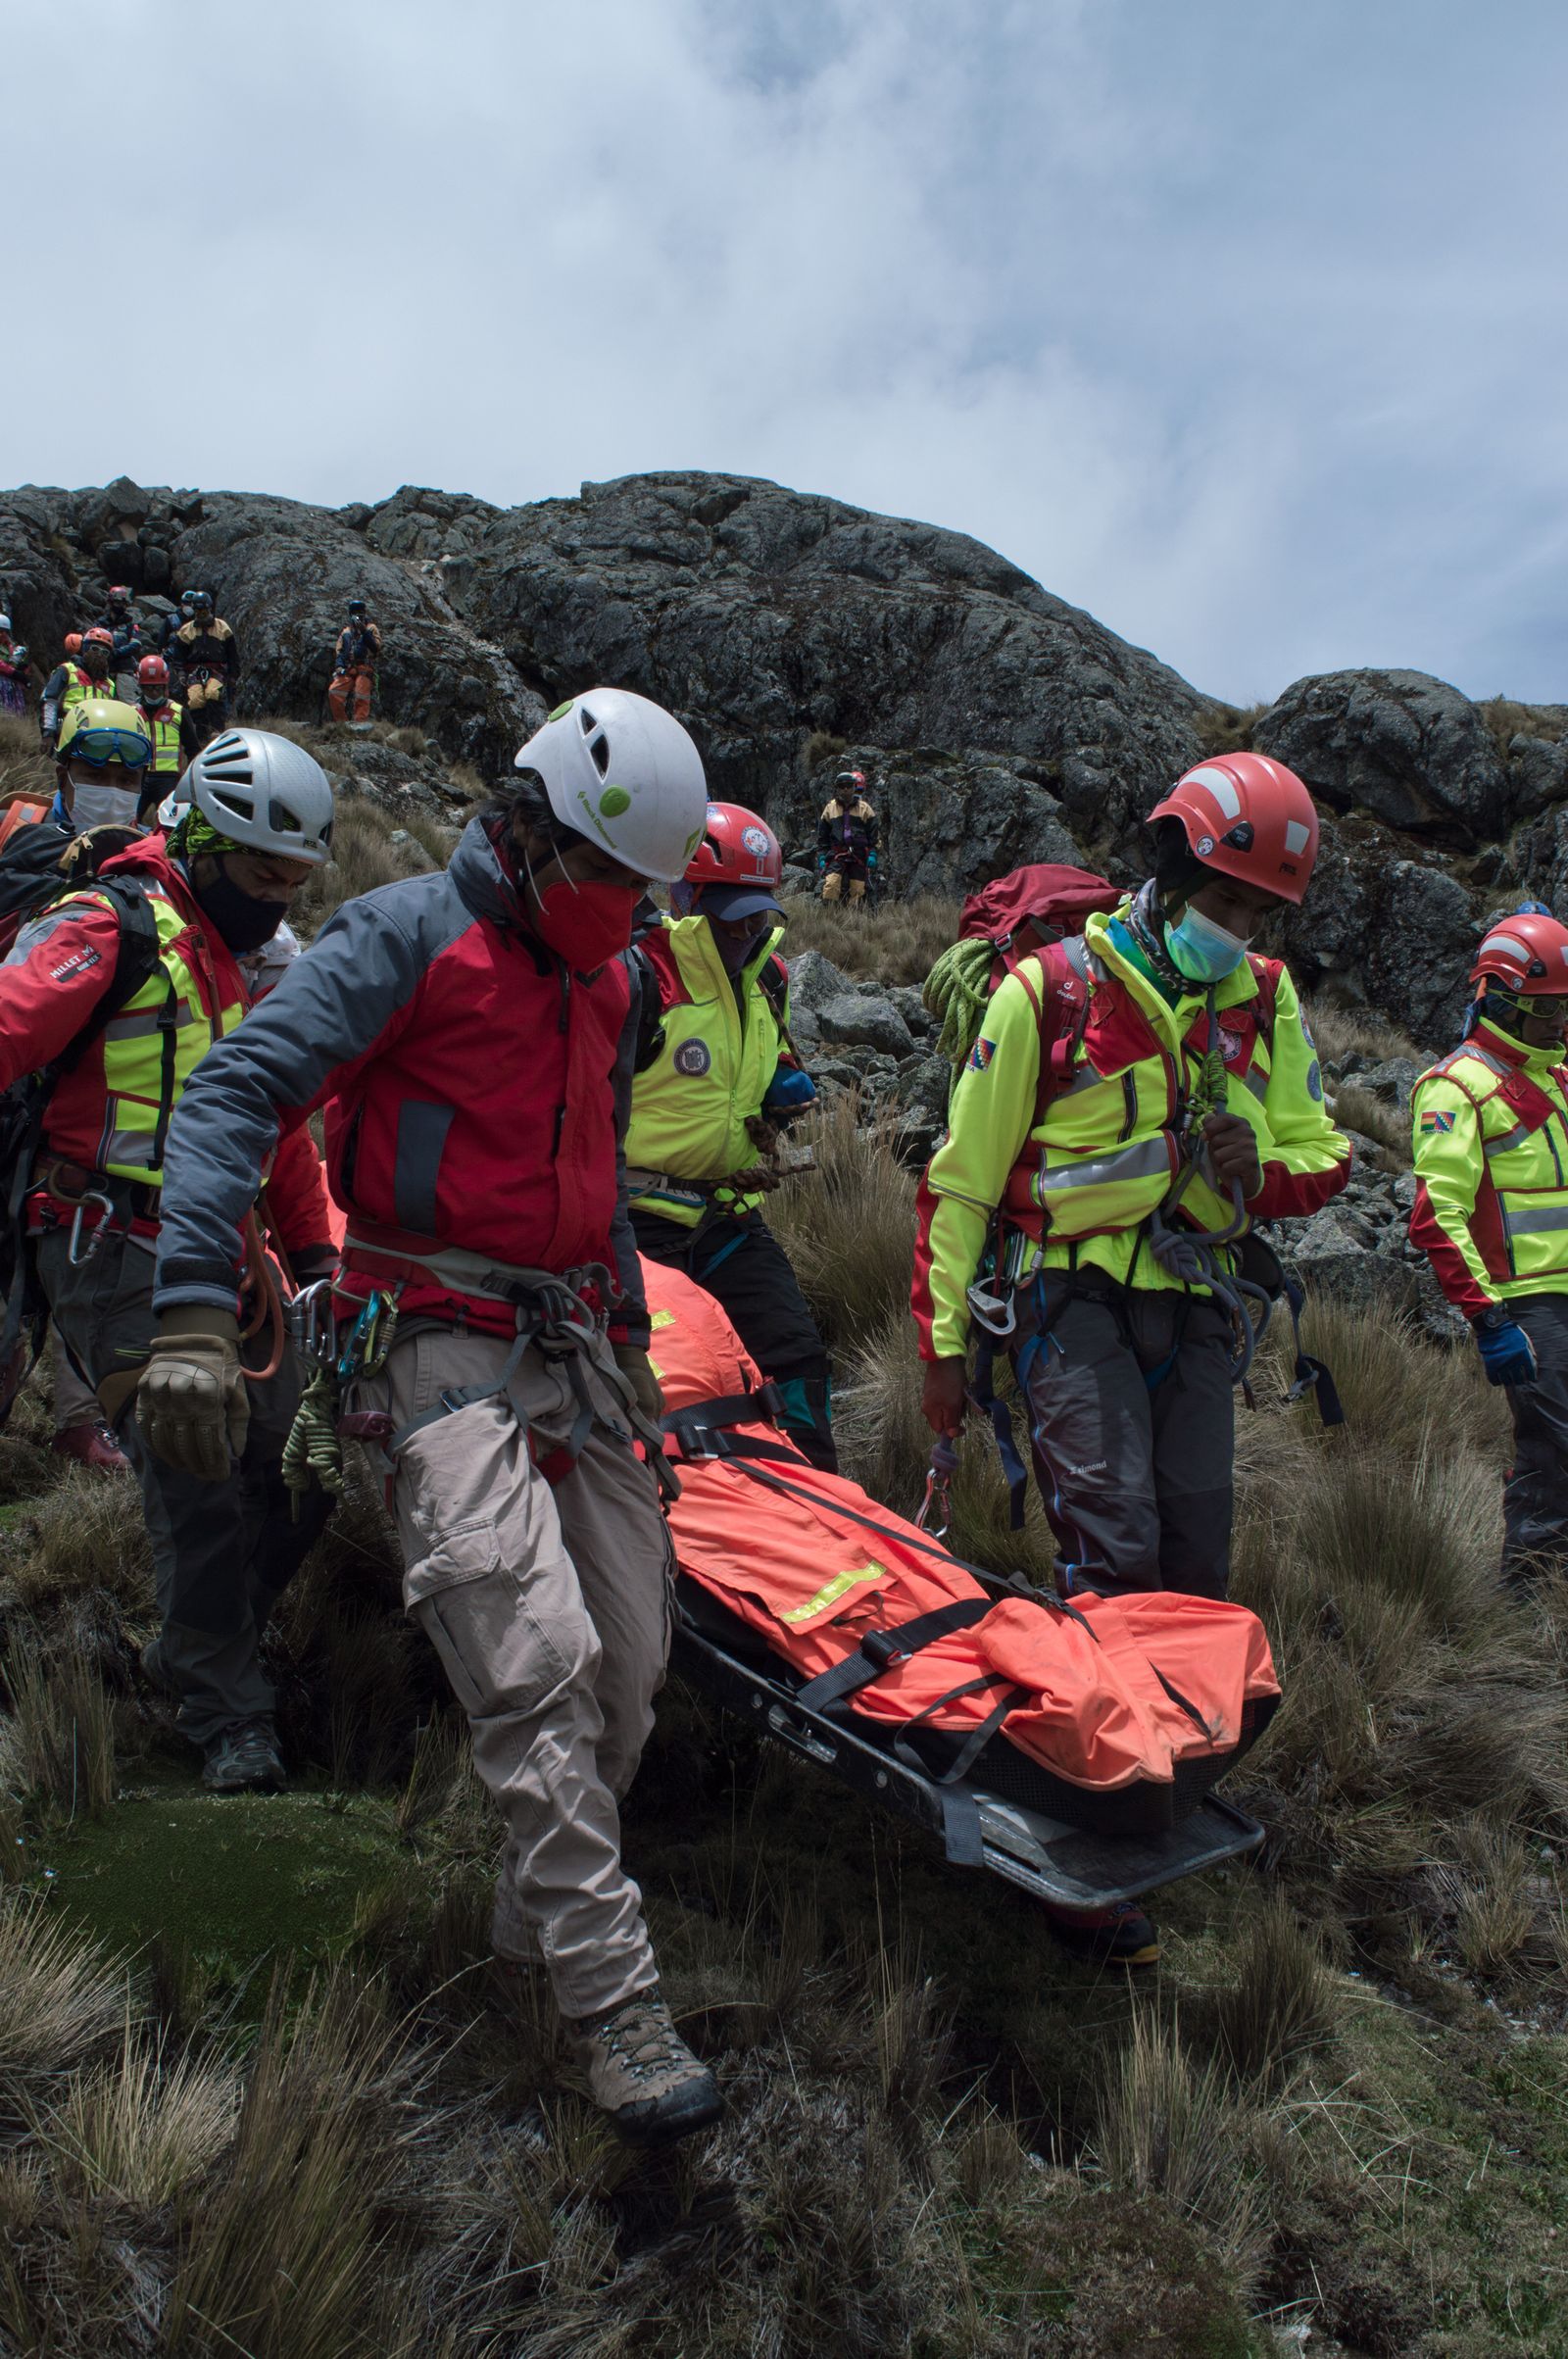
Healthcare professionals may use the Ottawa Ankle Rules to help determine when an X-ray is indicated. Important signs include inability to bear weight after the injury and marked tenderness over specific ankle and foot bones. However, this is not a complete self-diagnosis tool for use in the wilderness, and it does not rule out every possible injury.
If the injured person cannot be moved safely, a serious injury is suspected, or the location itself is dangerous, call for help. In Hungary and throughout the European Union, 112 is the free emergency number. Explain clearly what happened, how many people are injured, what their condition is, and provide the most accurate location possible.
An elastic bandage is simple, lightweight and practical on the trail
The purpose of compression is not to squeeze the ankle as tightly as possible
The wrap should provide support while circulation and sensation in the foot remain normal.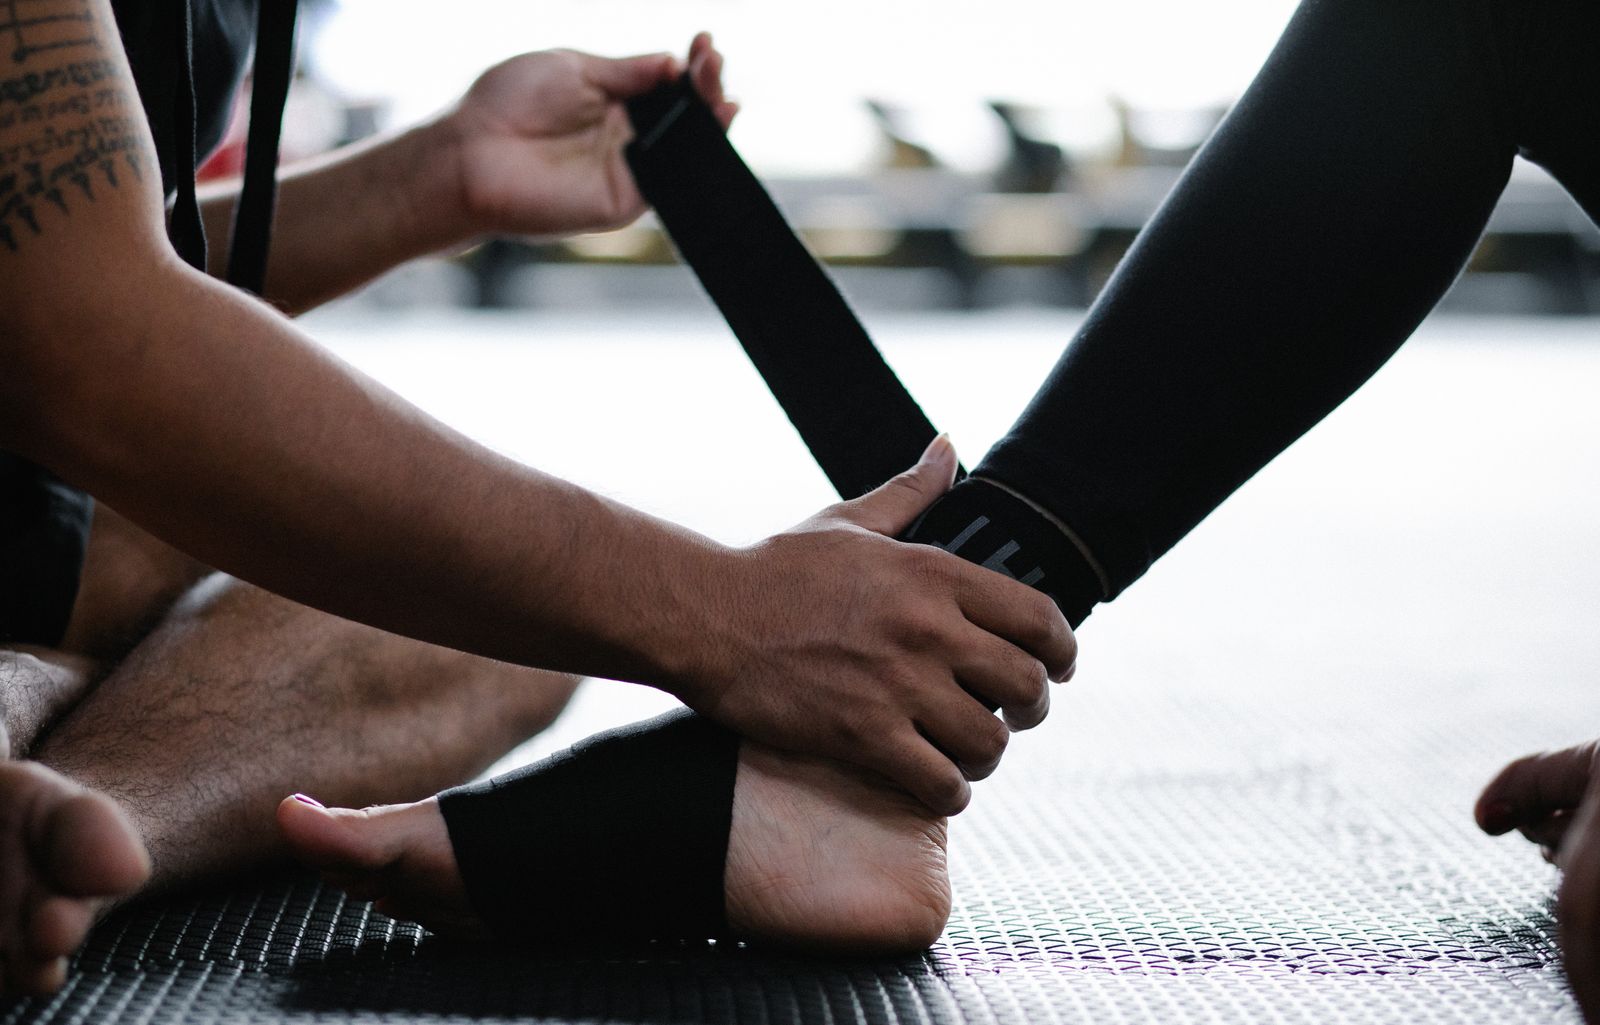
For a milder injury that can still tolerate some weight bearing, an elastic compression bandage may help control swelling and make the ankle feel more secure. If you are not experienced with rigid sports tape, an elastic bandage is generally simpler and easier to readjust.
When applied correctly, rigid sports tape can provide stronger mechanical support, but poor application can make it too tight. If you have never learned how to tape an ankle, the middle of the forest with an injured ankle is not the best place to practise for the first time.
The question is not simply whether you can move, but whether the ankle can be loaded safely
With a mild injury, the shortest safe walk-out may be possible, but severe pain should not be “walked off”
Terrain, distance to safety and the injured person’s condition all matter.| Situation | What should you do? |
|---|---|
| Mild pain, stable ankle, walking is possible | After resting and supporting the ankle, a cautious walk along the shortest and easiest safe exit route may be reasonable. |
| You cannot walk without limping | Do not continue the original hiking plan. Shorten the route, turn back or arrange assistance. |
| Weight bearing causes severe pain | Do not force a multi-kilometre walk-out on the injured foot. |
| You cannot bear weight at all | A fracture or more serious injury may be possible. Immobilisation and assistance are appropriate. |
| Deformity or circulation problems | Do not make the person walk. Urgent medical treatment is required. |
If the injury appears mild and the ankle can bear weight, two trekking poles may significantly help with balance and partially unloading the injured leg. However, they do not make it safe to walk on an ankle that is otherwise non-weight-bearing or potentially fractured.
Protection, elevation, appropriate compression and gradual return to loading
Complete immobilisation is not the goal, but the ankle should not be overloaded early on
Recovery time depends on the severity of the injury.
Traditional PRICE/RICE protocols include short periods of cooling to reduce pain and swelling. Newer approaches, including PEACE & LOVE, do not consider routine icing essential and take a more nuanced view of its effect on tissue healing. In practical terms, if brief cooling reduces pain, it can be used, but never place ice directly against the skin, and do not treat cooling as though it alone will heal the injury.
Use only an over-the-counter pain medicine that you can normally take safely, and follow the product information. If you have medication allergies, take anticoagulants, have stomach, kidney or liver disease, are pregnant, or take other regular medicines, seek advice from a pharmacist or doctor.
An ankle does not regain stability simply by avoiding movement for weeks
Range of motion, strength and balance: all three need to be rebuilt
The exact rehabilitation plan should always match the severity of the injury.Two people who sprain their ankles on the same day may have injuries of very different severity. Progress loading according to pain, swelling, range of motion, strength and stability, not simply because a certain number of days has passed.
Start with flat walking, then add climbs, uneven terrain and only later long hikes
Return gradually
Returning too quickly can increase the risk of another ankle roll and persistent instability.| Stage | What should you try? |
|---|---|
| 1. | Normal walking at home and on flat ground without significant pain or limping. |
| 2. | Longer, brisker walks on level ground. |
| 3. | Stairs and short climbs. |
| 4. | A short, easy forest trail with little elevation change. |
| 5. | More uneven terrain and longer descents. |
| 6. | Longer hikes, and only later a heavy backpack. |
The ankle can tolerate normal daily walking, stairs and simple balance exercises without significant pain, instability or major swelling afterwards. If the ankle is clearly worse several hours after a given level of activity, you probably increased the load too quickly.
A useful hiking first aid kit does not need to be large, but it should contain the right essentials
The equipment needed for an ankle injury takes up very little space
The most useful items are not complicated: compression, support, wound care and communication.
For a short day hike, not necessarily: it is relatively bulky and single-use. For organised groups, events, camps or larger first-aid kits, it may still be useful. For a simple hiking kit, an elastic bandage, a reliable way to communicate and protection from cold are generally more important.
A strong, well-controlled ankle matters more than simply wearing a high-cut boot
After a previous ankle sprain, rebuilding balance and the strength of the muscles around the ankle is particularly important
Pain disappearing does not necessarily mean that full ankle stability has returned.For recurrent ankle sprains, an appropriate ankle brace or taping may be useful in some situations, but in the long term it does not replace restoring strength, range of motion and balance.
Many problems start when the injury is dismissed as minor too quickly
Do not do these things
A few bad decisions can make a field situation significantly worse.If you roll your ankle, the first good decision matters more than continuing the hike as quickly as possible
Stop, assess, support
Sit down first, check the shape of the ankle, swelling, wounds, and then assess sensation, movement, colour and temperature of the foot. With a mild, weight-bearing injury, an elastic bandage and trekking poles may help with getting out safely.
Do not only rest it: gradually rebuild movement and stability
During the early phase, protect the ankle, elevate it, use compression when appropriate, and as pain improves, gradually return to movement, walking, strength exercises and balance training.
Do not insist on walking out under your own power
Deformity, an open injury, circulation or sensation problems, severe bony pain or inability to bear weight should not be treated as a simple ankle sprain. In these situations, instead of continuing to load the ankle, protect the injured person, keep them warm, support or immobilise the injury and request assistance when necessary.


Sources and medical background
This article is a general guide to hiking first aid and preparation. It is not intended to diagnose a specific injury, and it does not replace medical, emergency service or physiotherapy assessment.
- NHS – Sprains and strains
- Cambridge University Hospitals – Caring for your ankle injury
- Cambridge University Hospitals – PRICE guidelines for acute sprains and strains
- Dorset County Hospital – PEACE and LOVE soft tissue injury guidance
- American College of Radiology – Acute Trauma to the Ankle / Ottawa Ankle Rules
- REI / NOLS Wilderness Medicine – How to Treat a Sprained Ankle
- NOLS Wilderness Medicine – usable and unusable musculoskeletal injuries in the field
- European Commission – European emergency number 112
Photos used in the article:
- Pexels – Kindel Media: painful ankle outdoors – hero image
- Pexels – Jan Bouken: first aid kit during a hike
- Pexels – Roman Apaza: mountain rescue of an injured hiker
- Pexels – Annushka Ahuja: supporting an ankle with an elastic bandage
- Pexels – Towfiqu barbhuiya: resting and recovering from an ankle injury
- Pexels – Marta Branco: bandages and basic first aid supplies