How to Use a Compass While Hiking: A Step-by-Step Field Navigation Guide
A compass is not a relic from the days before smartphones: it remains one of the simplest ways to establish a direction independently and check where you are heading. It needs no mobile signal, internet connection or battery. But it cannot tell you where you are, and a misread bearing can lead you astray just as surely as a misunderstood digital map. This guide focuses on practical navigation in the field: distinguishing the magnetic needle from the compass housing, working with a map and compass together, following a bearing, and deciding what to do when a trail disappears or forks.
North is 0°/360°, east 90°, south 180°, west 270°.
The marked end of the needle points towards magnetic north; follow the direction-of-travel arrow on the baseplate.
Together they support practical route planning; a compass is not a GPS positioning device.
Pick a nearby landmark, reach it, then check your direction again.
- Keep the compass level.The magnetic needle must turn freely and stay away from metal objects.
- Follow the direction-of-travel arrow.Set your bearing first, then turn until the needle lines up with the orienting arrow.
- Grid north and magnetic north are not necessarily the same.For accurate navigation, check the correction appropriate to your map and its date.
- Do not walk while staring at the compass.Pick a clearly identifiable landmark on your bearing and walk towards it.
- A compass cannot tell you where you are.Use your map, trail markers, terrain features and, where necessary, GPS position together.
What can a compass do for you on a hike – and what can it not do?
Navigation is not simply a matter of “walking north”
A compass provides direction; a map helps you interpret location and route.On a well-marked trail, you often do not need to follow a bearing continuously. At junctions, on broad ridges, open plateaus, in poor visibility or among confusing paths, however, it is valuable to identify the intended direction on the map and establish that direction on the ground.
It indicates magnetic north and lets you set a field or map bearing using its degree scale.
It does not provide coordinates, identify trail markings or measure distance by itself.
When there is no mobile coverage, your phone battery is flat, or a digital map’s orientation is uncertain.
If your starting position is unknown, your map is outdated or the terrain is hazardous, you need other navigational information too.
Following a route begins with three separate questions: Where am I, where do I want to go, and in which direction and across what terrain can I get there? A compass mainly helps with the directional part of the third question. Many beginner mistakes happen when magnetic north is confused with the direction of the destination.
Parts of a baseplate compass: what does each marking mean?
The marked needle tip, orienting arrow and direction-of-travel arrow have different jobs
Recognising these three features prevents many common beginner mistakes.
For hiking and outdoor navigation, a transparent baseplate compass with a rotating bezel is particularly practical. You can lay it on a map, use its straight edge and read bearings on its graduated dial. This is often what people mean by a hiking compass; the instructions below refer to this type.
A freely rotating pointer. Its usually red or otherwise marked end seeks magnetic north; check which end is marked on your own compass.
The rotating ring carries a 0–360° scale. The orienting arrow and parallel orienting lines inside the housing help you work with a map.
The forward-pointing arrow printed on the transparent baseplate. This is the direction you face and walk when following a bearing.
Read the selected angle at the index mark. Use the straight edge to connect the starting point to the destination and the map scales to estimate distances.
The arrow inside the housing is used to align the magnetic needle. The long forward-pointing arrow on the baseplate indicates your direction of travel. Never confuse the two.
On a full degree scale, 0° or 360° is north, 90° is east, 180° is south and 270° is west. A bearing of 45° points northeast and 135° southeast. A bearing is neither a distance nor a slope angle: it is a direction measured clockwise from north in the horizontal plane.
How do you take a bearing to a visible landmark?
Record the direction to a landmark in five steps
Turn the compass bezel, not the magnetic needle itself.If you can see a rock tower, lookout point or bend in the trail and want to record its direction, you can take a field bearing to that feature. You can do this without a map, but the bearing does not tell you how far away the feature is or whether you can reach it without obstacles.
- Stop and select an unmistakable landmarkChoose something you can identify reliably: a lone tree, signpost, distinctive rock or tower on a ridge.
- Hold the compass levelAim the direction-of-travel arrow directly at the landmark. Do not tilt the housing or stand beside a metal railing or vehicle.
- Rotate only the bezelTurn it until the orienting arrow in the housing aligns with the marked north end of the needle. Keep the baseplate pointing at the landmark.
- Read the angle at the index markThe reading is the target’s magnetic bearing – provided the compass does not already have a declination adjustment set.
- Check your reading againLook away from the scale, sight the landmark again and repeat the measurement. Two inconsistent readings are a warning sign.
If you turn sideways after taking the bearing, the needle will still point to magnetic north. To face your destination, turn your whole body until the marked needle tip once again sits within the orienting arrow.
How to orient a hiking map to the surrounding terrain
A map is most useful when it faces the same way as the landscape
Do not automatically assume that the top of the sheet indicates north.
Orienting a map means rotating it so that the directions shown on the paper align with the real world. With an oriented map, a trail to your right will appear to your right on the map, and a western ridge will sit on the appropriate side. This is particularly useful at complicated junctions.
- Identify north on your mapUse the legend and north arrow to establish what the vertical grid lines or meridians represent. The top edge of the sheet is not always sufficient.
- Place the compass on the mapAlign the north–south orienting lines inside the compass housing with the appropriate north–south lines on the map.
- Allow for the difference between north referencesIf grid north and magnetic north differ, apply the appropriate up-to-date correction for the map. The uncorrected magnetic needle does not necessarily point to the top of the paper.
- Rotate the map and compass togetherTurn the sheet and compass as a unit until the magnetic needle reaches the correct orienting position.
- Check against the landscapeA distinctive valley, group of peaks or road junction should lie in the same direction on the map as it does in front of you.
True north, grid north and magnetic north do not necessarily coincide. Use the symbols and north-reference information on your particular map to orient it accurately.
Transferring a bearing from the map to the ground
The goal is to follow a correctly transferred bearing, not just point at the map
Practise these seven steps at home first, then in easy terrain.
This is the most important combined technique: turning two known locations on a map into a direction you can follow on foot. It works reliably only if you have correctly identified both your current position and your destination on the map.
- Mark your starting point and destinationFor example, use a trail junction and the edge of a clearing. Before measuring, make sure you have not confused two parallel paths.
- Place the compass edge between the pointsThe long edge of the baseplate should connect them, with the direction-of-travel arrow pointing from your starting point towards the destination.
- Rotate the bezel to map northAlign the parallel orienting lines in the housing with the map’s north–south grid lines, keeping the housing’s N marking towards the north side of the map.
- Read the map bearingThe index at the base of the direction-of-travel arrow gives the angle measured on the map. This is generally a grid bearing, which may differ from the magnetic bearing.
- Apply the correct north-reference adjustmentIf necessary, adjust for the magnetic–grid angle appropriate to the map projection, location and date. If you use a compass with a built-in declination setting, make the correction only once.
- Turn to face the right directionHold the compass level with the direction-of-travel arrow facing ahead, then turn your whole body until the marked north end of the needle aligns with the orienting arrow.
- Choose a landmark as a checkpointFind a clearly recognisable, safely reachable landmark along the travel arrow. Walk to it, then take another reading.
The line between two points may cross cliffs, gorges, steep slopes or restricted land. Taking a bearing is a way to establish direction, not a guarantee of safe passage. Choose a route that accounts for the terrain and existing trails.
How can you identify a landmark or estimate your position on the map?
A direction observed in the field can also help you read the map
Projecting a field bearing onto the map is not the same as obtaining GPS coordinates.Sometimes you need to work backwards: you can see a mountain summit or lookout and want to identify it on the map. One bearing alone does not locate you precisely, but if you already know your observation point, you can search along the corresponding line on the map for that landmark.
- Measure the magnetic bearing to the visible landmarkSight the landmark and set the compass bezel as explained in Section 03.
- Convert it to a map bearingApply the correct current magnetic–grid correction before transferring the direction to the map grid.
- Start from your known location on the mapAlign the housing’s orienting lines with the grid and the baseplate edge with the observed direction.
- Examine distinctive features along the bearing lineElevation, shape, estimated distance and the surrounding landscape help identify the correct feature.
If you can measure bearings to several distant landmarks that are positively identified , plotting the lines back onto the map allows you to estimate your location from their intersection. This method is called resection and requires an accurate map, correct north-reference adjustments and landmarks at sufficiently different angles.
To find the opposite direction, add 180° if the original bearing is below 180°; otherwise subtract 180°. For example, the reciprocal of 65° is 245°, and the reciprocal of 235° is 55°. This still tells you nothing about whether the ground between the two points is passable.
How do you follow a bearing without drifting off course?
Use short, visible checkpoints instead of one distant target
This reduces the accumulation of error in dense forest, fog or rolling terrain.
Good equipment alone does not guarantee good navigation. The most reliable approach is not to stare at your compass continuously, but to select a series of nearby points that you can verify visually.
Look for a distinctive tree, large boulder, bend in the trail or other recognisable feature along your bearing.
This keeps sideways drift from building up as you walk.
If you cannot see the next landmark, break the journey into even shorter stages.
Junctions, streams, ridgelines and crossings of marked paths help confirm your position on the map.
If a fallen tree or thick vegetation forces you to detour, do not simply resume the same bearing without thinking. After a short diversion, relocate your intended line of travel using the map and identifiable ground features. An accurate parallel detour requires experience with pacing and maintaining bearings; beginners are better off choosing an identifiable path.
A marked path or safe pass takes precedence over geometric straightness. On steep or rocky ground, a compass cannot judge whether the terrain is safe to cross.
Magnetic declination: why does north on the map differ from north on the compass?
Over longer distances, the differences between the three north references add up to real positioning errors
Learn the method rather than memorising a single number for Hungary.A magnetic needle does not point to the geographic North Pole, and a map’s north–south grid lines do not always coincide with true north. The difference also varies by location and over time. This is why the bearing read from a map and the angle you need to set in the field may be different even for the same destination.
North along Earth’s axis of rotation, indicated by geographical meridians.
The direction followed by the magnetic needle; it changes over time.
North as indicated by the map projection’s coordinate grid; it may differ from true north.
The angle from grid north to magnetic north. This is the difference that matters when transferring a grid bearing from the map to a compass.
Suppose the measured grid bearing is 75°, and for this map, location and date magnetic north lies 5° east of grid north. The corresponding magnetic bearing is 75° − 5° = 70°.
Conversely, if magnetic north lies 5° west of grid north, the magnetic bearing corresponding to that same grid bearing of 75° is 80°.
Neither 5° figure represents Hungary’s current declination; these are examples of sign convention and method only.
First determine whether your bearing is referenced to true north or grid north and which two north references the stated angular difference relates to. If you have already adjusted your compass for declination, do not apply the correction again. The figure printed on your map may be outdated.
Check the current angular difference for the relevant location and date using an appropriate geomagnetic calculator or updated map information. NOAA and geological agencies provide calculators for this purpose; the date shown on the map is just as important as the number of degrees.
Trail signs, terrain features and GPS: how do you confirm you are going the right way?
Read the landscape as well as the map bearing
A compass works best as one part of your decision-making process.
On marked trails in Hungary, the compass is rarely your only source of information. Good navigation does not mean recalculating degrees at every waymark; it means ensuring that the map, terrain, trail signs and next checkpoint all support the same conclusion.
Identify which path follows the expected map direction. A trail may initially head the wrong way for a few metres, so consider the whole section.
A stream valley, saddle, ridgeline or steep ascent may identify your position more reliably than a single trail marking.
At 1:25,000, 1 cm represents 250 m; at 1:50,000, 1 cm represents 500 m. These are straight-line distances, not lengths along a winding path.
They can help confirm your location, but check whether the device displays bearings relative to true or magnetic north.
Your phone’s map orientation may seem wrong even when the GPS position is correct: a course calculated from movement and the device’s orientation measured by a magnetic sensor are different. At walking speed or while standing still, comparing those readings directly with an analogue compass can be misleading.
Seven common compass mistakes that can send you the wrong way
The error is more often in how the compass is used or where you stand than in the instrument itself
Use this table to check a suspicious reading in the field.| Common mistake | Why it causes an error | How to fix it |
|---|---|---|
| Walking towards the red needle | North is not necessarily your destination. | Follow the direction-of-travel arrow with the bezel correctly set. |
| The N marking points south | You can end up travelling 180° in the wrong direction. | When setting a bearing from a map, point the housing’s N marking towards map north. |
| Holding the compass at an angle | The needle can rub, stick or move sluggishly. | Stop, hold the compass level and wait for the needle to settle. |
| Taking a reading beside metal | Strong magnetic or electrical fields can deflect the needle. | Move away from phones, cars, steel railings and magnetic cases. |
| Using a grid bearing directly as a magnetic bearing | The difference may produce a growing sideways error. | Apply the appropriate grid–magnetic correction once. |
| Your starting point on the map is wrong | Even a perfectly measured bearing can take you to the wrong destination. | Locate yourself using several independent terrain clues first. |
| Looking only at the angle, not the terrain | The line may lead across cliffs, dense vegetation or restricted areas. | Use a marked, safe route and short checkpoints. |

Practical interference test: stop and take a bearing a few metres from a metal object, then repeat it much farther away in an open area. If the readings differ significantly, do not average them: remove the source of interference and measure again.
A phone, magnetic case, car body, fence, reinforced concrete or certain electrical equipment can distort nearby readings. There is no universal safe distance: choose a location where the needle settles steadily and measurements are repeatable.
What should you do if the trail disappears, fog rolls in or you are unsure of your location?
Sometimes the most important navigation skill is knowing when to stop
Identifying your exact position is more valuable than rushing onwards.Waymarks may disappear, fog may descend, daylight may fade, or several similar junctions may appear on what seemed to be a familiar route. The worst response is to keep moving confidently on the strength of a single uncertain compass reading.
- Stop in a safe placeDo not take readings on the edge of a steep slope, on a cliff or in a busy road. Note the last place where you definitely saw a waymark or reliable checkpoint.
- Check your compass and bearingMake sure the compass is level, away from magnetic interference, with the bezel set correctly and the north marking in the right place.
- Find your last confirmed position on the mapUse the map and several ground features. If available, check your phone or GPS position, but do not assume the underlying map is equally accurate.
- Do not attempt unsafe terrain blindlyDo not enter dense undergrowth, steep scree or rocky terrain merely to maintain a particular bearing.
- Call for help when necessaryIf being lost, the weather or an injury puts you in danger, call the relevant local emergency number (112 in the EU) and give the most accurate location details possible.
With poor visibility, substantial sideways error can build up over tens or hundreds of metres. Keep moving only on a well-known route, with appropriate experience and checkpoints; otherwise stopping and replanning is safer.
A 25-minute compass exercise you can complete on an easy hike
Skill comes from repetition, not memorising pages of theory
This exercise is worthwhile on your own, although an outdoor navigation instructor can give more precise feedback.You cannot master a compass simply by reading. Complete the following exercises in familiar, easy and safe terrain with a marked trail, several recognisable landmarks and preferably another person with you.
- 0–5 minutes: identify the partsPoint out the marked end of the magnetic needle, the orienting arrow inside the housing, the direction-of-travel arrow and the index mark. Then set bearings of 90°, 180° and 270°.
- 5–10 minutes: orient the mapFind a junction, valley and nearby hill. Rotate the map until these features line up with the landscape.
- 10–15 minutes: sight three landmarksTake bearings to a tree, signpost and distinctive building or summit. Repeat each measurement twice.
- 15–20 minutes: transfer a bearing from map to groundChoose two known points, measure the grid bearing, make the appropriate correction, then select a short, visible target.
- 20–25 minutes: check and take a reciprocal bearingWhen you reach the target, check your position against the map. Calculate the reciprocal of your original bearing and compare it with the landscape.
Using a compass on a hike: answers to common questions
The details matter in the field
It is better to answer these questions before setting off than in the middle of a confusing junction.Is a compass enough if I do not have a hiking map?
It can establish a direction, but it cannot show your position, a passable route or the ground between you and your destination. For unfamiliar terrain, bring a map and plan your route in advance.
Should I follow the red needle or the arrow on the baseplate?
The marked tip of the needle points towards magnetic north. When following a set bearing, walk in the direction of the baseplate’s travel arrow while keeping the needle aligned with the orienting arrow inside the housing.
Why does my phone show a different direction from my compass?
A phone may display bearings relative to true or magnetic north, estimate your course from movement, or suffer from sensor errors. First check exactly which directions you are comparing.
What is a reciprocal bearing?
It is the direction pointing back from your destination: add or subtract 180° from the original bearing so that the result falls between 0° and 360°.
What compass should a beginner buy?
Choose a baseplate compass with a clear degree scale, stable magnetic needle, direction-of-travel arrow, straight edge and preferably map-scale markings. A sighting or mirror compass can help with more precise aiming later.
Do you need to correct magnetic declination in Hungary?
If you need to follow an accurate map bearing over a longer section, check the correction appropriate to the map and current date. Other sources of error may be more significant on short marked paths, but that does not make the north-reference difference disappear.
Why does the needle behave strangely when I hold my phone?
Phones, magnetic cases, metal objects and other local magnetic interference can deflect the needle. Move farther away and check whether the reading is repeatable.
What should I do first if I am lost?
Stop somewhere safe, identify your last confirmed location and check your position against several sources. Do not enter unfamiliar, hazardous terrain on the strength of a single compass reading.
A compass gives you a direction, but good navigation is always a process of checking: establish your position, identify a destination, select a bearing and a safe route, then confirm your progress at another checkpoint. Traditional and digital tools therefore work best as independent checks on one another.
A compass is more than an arrow pointing north: it supports decisions in the field
Needle in the orienting arrow; travel in the baseplate arrow’s direction
Hold the compass level, set the bezel correctly and keep clear of magnetic interference. These are the foundations of following a bearing.
A grid bearing is not necessarily a magnetic bearing
Check the differences between true, magnetic and grid north, then apply the correct adjustment once.
Short stage, identifiable landmark, fresh check
Compass, map, trail markings and terrain together provide reliable navigation. Practise in easy terrain first, and never confuse a straight-line direction with a safe route.


Sources and background
This guide introduces basic field-navigation skills. It does not replace practical instruction or an assessment of current safety conditions. The magnetic-declination calculations are illustrative examples, not current declination figures for Hungary.
- Ordnance Survey – Compass Bearings
- Ordnance Survey – Map reading guide (PDF)
- U.S. Geological Survey – How to use a compass and topographic map
- U.S. Geological Survey – Map-to-field bearing with declination (Method 1)
- U.S. Geological Survey – True, grid and magnetic north
- U.S. Geological Survey – What is magnetic declination?
- Silva – Baseplate compass manual (PDF)
- REI Expert Advice – Navigation basics
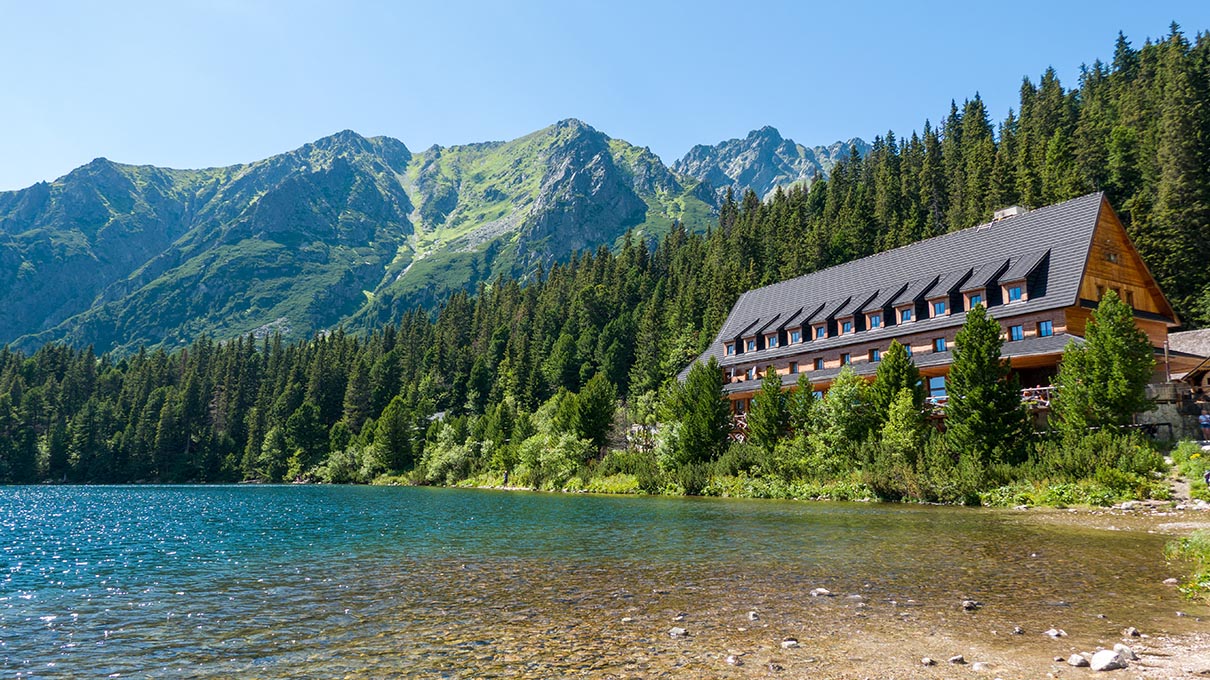
Images: The compass and outdoor photographs in this article are original images by Pexels contributors, with links to their source pages.
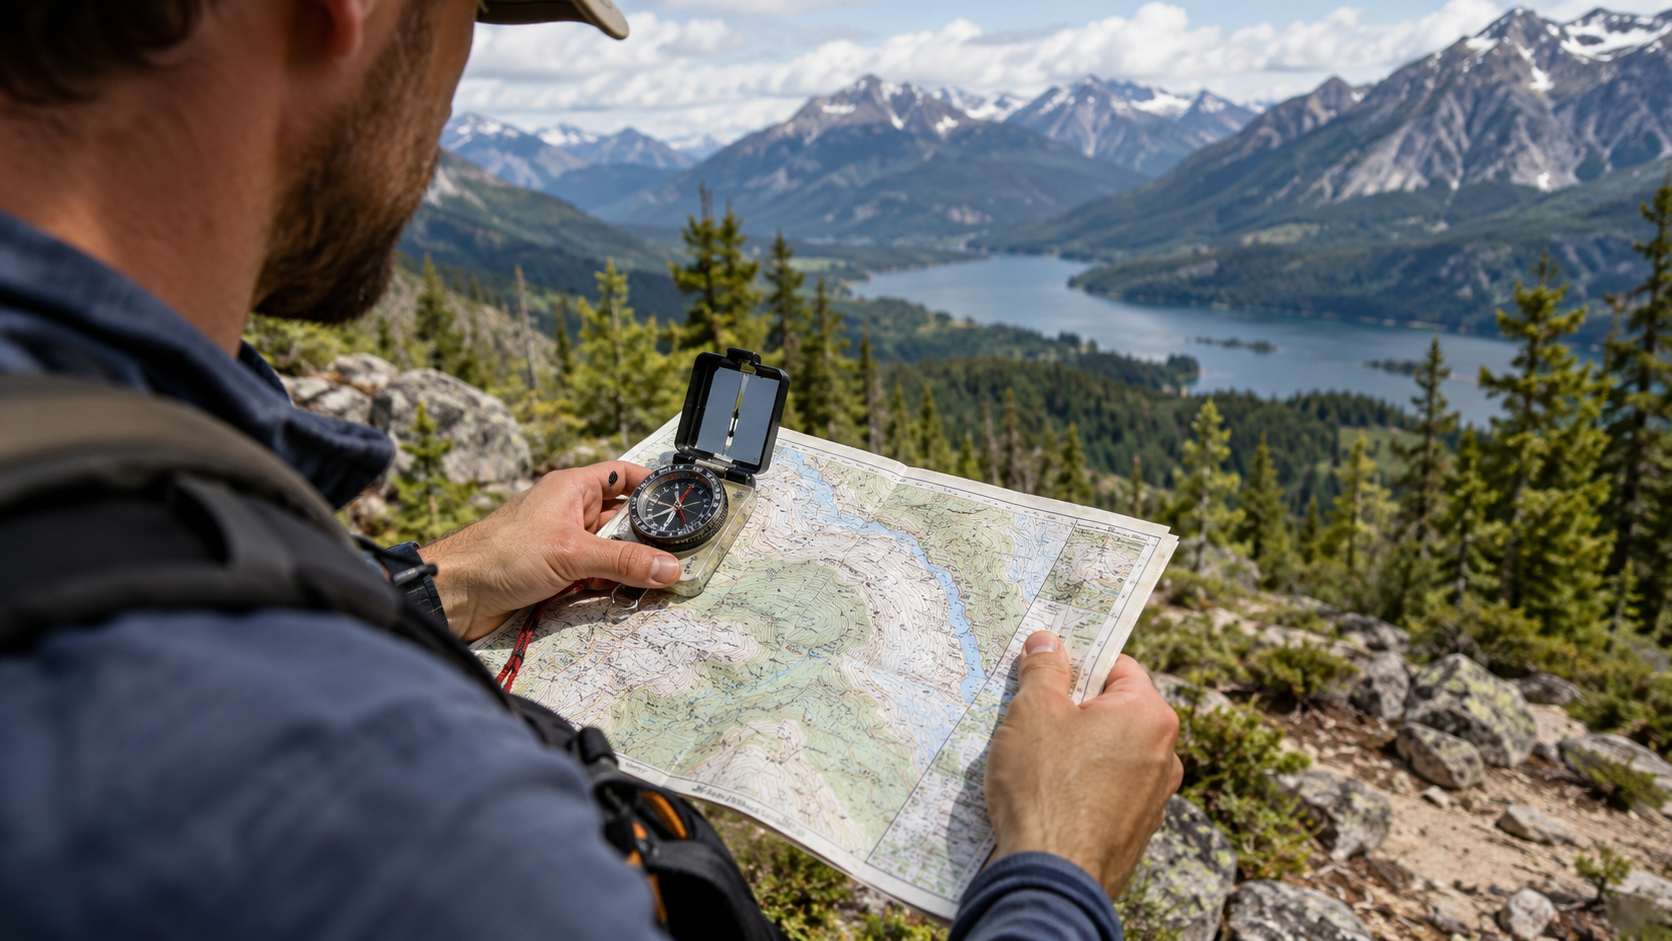
- Pavel Danilyuk / Pexels – A compass on a mountain hike, a practical tool for field navigation
- Tima Miroshnichenko / Pexels – The compass degree scale and magnetic needle are clearly visible against the map
- Anastasia Shuraeva / Pexels – Orienting a map to the landscape using a map and compass together
- Robert Forever Ago / Pexels – Transferring a map bearing to navigate in the field
- Pavel Danilyuk / Pexels – Checking a bearing along a route among natural landmarks
- Jeremy Meddaugh / Pexels – At a junction, trail signs, map and compass work together to support reliable navigation
- Pavel Danilyuk / Pexels – In rocky terrain, check your direction in stages
Suggested hikes: The TN Article Engine v5.9 handles the public route links and accurate API-updated information on the Túraprogramok recommendation cards.